How to Drain Down a Central Heating System: A Step-by-Step Technical Guide
A systematic, correct drain-down is essential for maintenance or repairs. This guide details the exact sequence, from isolating the boiler to opening bleed valves, to prevent airlocks and system damage.
Pre-Drain Preparation: Isolation and Assessment
Before any work begins, the system must be completely isolated and allowed to cool. Our engineers first switch off the boiler and electrical supply at the fused spur. Crucially, we wait for the water temperature to drop below 30°C to prevent scalding and thermal stress on components. The next step is to identify the primary drain point, typically a drain valve located on the lowest radiator or on the main system pipework near the boiler. A secondary drain point may be used if the primary is obstructed or inaccessible, highlighting the need for a thorough initial system survey.
We then connect a suitable length of hosepipe securely to the drain valve, routing it to a foul drain or external area where discharged water can flow safely without causing property damage. All necessary tools—adjustable spanners, a radiator bleed key, a bucket for residual water, and protective gloves—are assembled. It is at this stage we also identify and label all system valves for later reference.
The Sequential Draining Procedure
The core process follows a strict sequence to minimise the risk of airlocks, which are a common cause of post-maintenance system failure. We start by opening the drain valve, allowing water to flow out via the hose. To enable effective draining, air must enter the system to replace the water. Therefore, we systematically open air vents, beginning with the highest radiator bleed valve in the property. This is often located in an upstairs bathroom or loft-converted space.
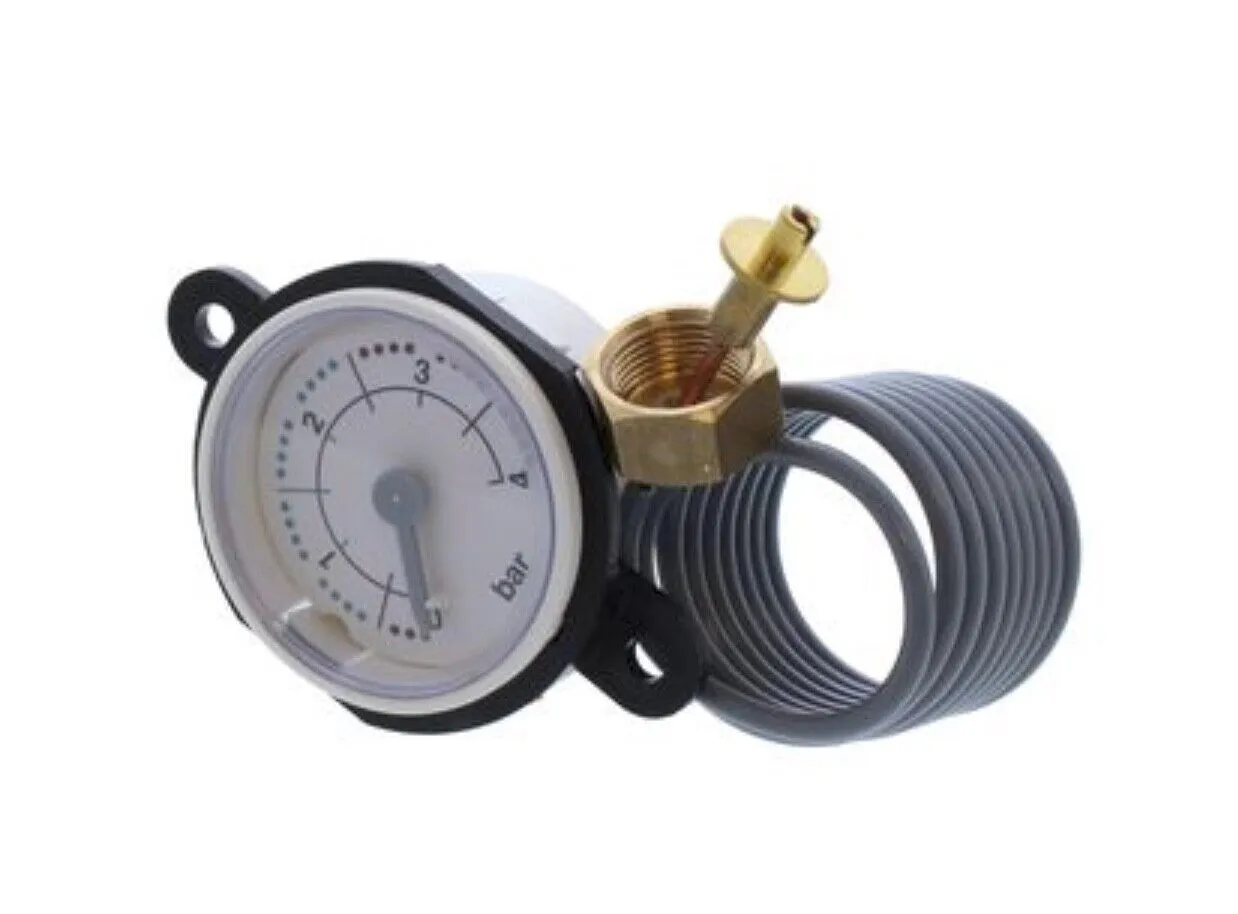
As water drains, we monitor the flow and listen for changes indicating air entering the system. Draining a standard domestic system can take 20 to 40 minutes. We never leave the process unattended, as a blocked hose or shifted pipe can quickly redirect water flow. Once the main flow ceases, we methodically open every radiator bleed valve to release any trapped water and confirm the system is empty. A final check of the boiler pressure gauge confirms zero system pressure.
Post-Drain Protocols and Refilling Considerations
With the system empty, the planned repair or component replacement can proceed. However, the work environment must be managed. We place absorbent mats around the work area to catch drips and protect flooring. Post-maintenance, the refilling process is equally critical. We start by closing the drain valve and all bleed valves. The filling loop is then connected and the cold water inlet valve opened slowly to pressurise the system to approximately 1 bar.
Our engineers then bleed each radiator sequentially from the ground floor upwards, finally addressing the highest points, topping up pressure as needed. This methodical approach expels trapped air. The boiler is then restarted, and the system is monitored for several heating cycles to ensure stable pressure, even heat distribution, and the absence of tell-tale gurgling sounds indicative of residual air. For commercial or larger systems, we often employ specialised filling and chemical dosing equipment to ensure correct inhibitor levels and balance.
Why Precision Matters in System Drainage
An imprecise or rushed drain-down invites multiple failure modes. Incorrect isolation can lead to continuous water ingress, complicating repairs. Failing to vent the system properly during drainage creates a vacuum, halting the flow and leaving water trapped in low sections or heat exchangers, which can freeze or corrode. Perhaps most critically, an improper refill introduces air, leading to noisy operation, reduced efficiency, and localised cold spots that accelerate component wear. For landlords and commercial property managers, these errors translate directly into repeat call-outs, tenant complaints, and accelerated capital expenditure on boilers and radiators. Our methodology, grounded in hydraulic principles and years of field application, is designed to eliminate these risks through disciplined procedure.
Frequently asked questions
Can I drain just one radiator instead of the whole system?
For replacing a single radiator, a full system drain is often unnecessary. Our standard practice involves isolating the specific radiator using its inlet and outlet valves, then using a hose and bucket to drain it locally. This minimises system disturbance and preserves the inhibitor concentration. However, if the system has a single pipe loop or the isolation valves are seized, a partial or full drain-down may be required.
What is the most common error during a drain-down?
The most frequent error is failing to open air vents at the system's highest point during the drain. Without this, a vacuum forms, stopping the flow and leaving significant water volume trapped. This leads to the false assumption the system is empty, resulting in water spillage during subsequent pipework disconnection. Another common oversight is not securing the hosepipe connection, leading to leaks at the drain valve.
How do you prevent corrosion after refilling the system?
Corrosion protection is provided by a chemical inhibitor. During a drain-down, a portion of this inhibitor is lost. Our standard procedure is to measure and, if necessary, reintroduce the correct dose of inhibitor during the refill process using a chemical dosing pot or inline injector. For commercial systems, we often take a water sample for analysis to determine the exact chemistry required, ensuring long-term protection of ferrous components and aluminium heat exchangers.